🎨 Store Customization Guide
Shopi lets sellers customize storefront design without coding while keeping performance high and layouts stable. All customization happens through the Theme System and the Theme Editor inside the Seller Dashboard.🧭 How Store Customization Works
When you create a new shop:- A Starter Theme is applied by default
- You can switch themes anytime
- You can edit content and styles safely without breaking the layout
🏪 Accessing the Theme Editor
To customize your storefront:- Open your Seller Dashboard
- Go to Themes
- Click Edit Storefront
Tip: If you don’t see editing tools, confirm you’re logged into the Seller Dashboard.
✨ Step 1 — Select or Change Theme
Shopi provides professionally designed templates optimized for:- ✅ Mobile responsiveness
- ✅ Conversion-friendly layouts
- ✅ Fast loading performance
- ✅ Modern UI consistency
✅ Default Theme
All new shops start with:Starter ThemeYou can change themes anytime. Your storefront remains structured and stable.
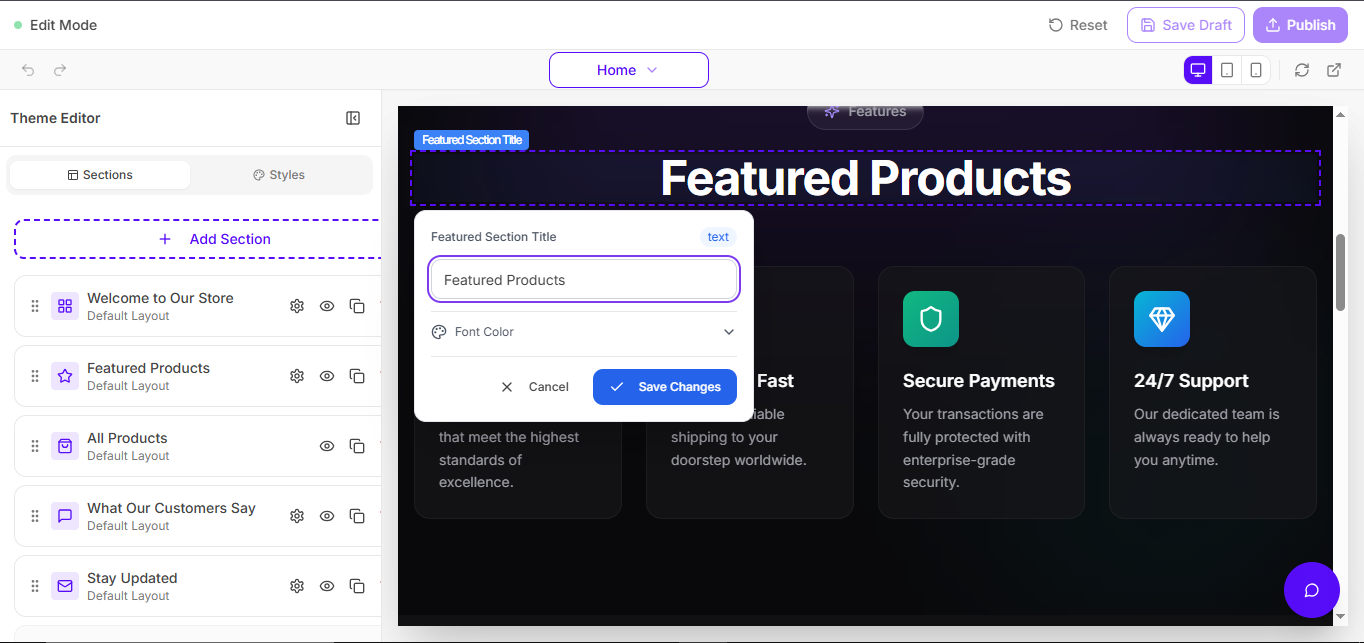
✏️ Step 2 — Edit Store Content (Click-to-Edit)
Shopi editing is intentionally simple:Click what you want to edit. Change it. Save. Publish.You can edit:
No drag & drop. No complex builders.
- Text content
- Images
- Buttons and links
- Product sections
- Marketing sections
🚀 Why Shopi Avoids Drag & Drop Builders
Drag-and-drop builders often cause:- Broken layouts
- Slow storefront performance
- Confusing editing experience
- Inconsistent design
✔ Speed
✔ Simplicity
✔ Design consistency
🧱 Step 3 — Add New Sections (+ Add Section)
Shopi storefronts are modular. You can expand your layout using pre-built sections.➕ Add Section Feature
Click:+ Add SectionThen choose a category such as:
- Content
- Products
- Engagement
- Media
- Hero banners
- Product showcases
- Search blocks
- Blog posts
- Testimonials
- Custom content blocks
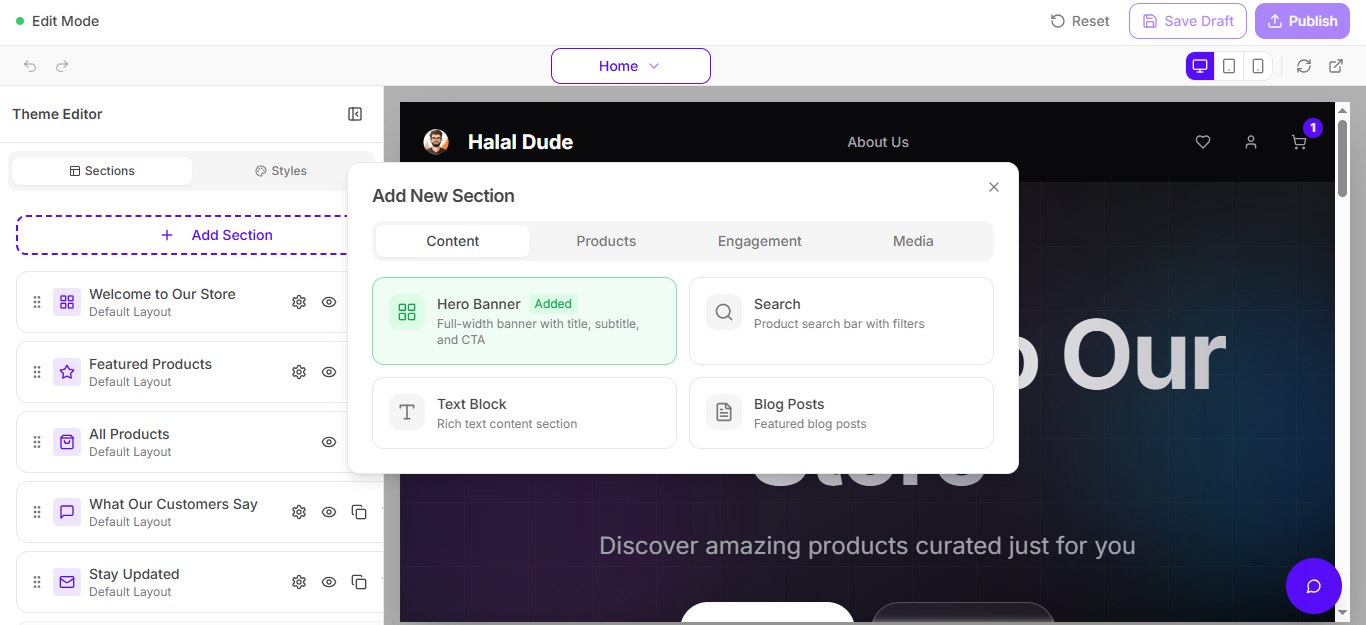
If you want a cleaner docs look later: upload a separate screenshot focused only on the “Add New Section” popup.
🎨 Step 4 — Advanced Customization (Styles)
Shopi includes advanced styling controls for brand customization. You can customize:- Fonts (family/size/weight)
- Font colors and brand palette
- Spacing (padding/margins)
- Page style (layout and appearance)
- Section styling and UI feel
🔐 Security: Protected Theme Editing
Shopi protects storefront editing using multiple security layers.🛡️ Signed & Secure Edit Access
Even if someone gets the edit URL (unlikely), they still cannot edit without valid dashboard access.- Edit URLs are signed
- Access requires authentication
- Unauthorized users are blocked
🚫 What Unauthorized Users See
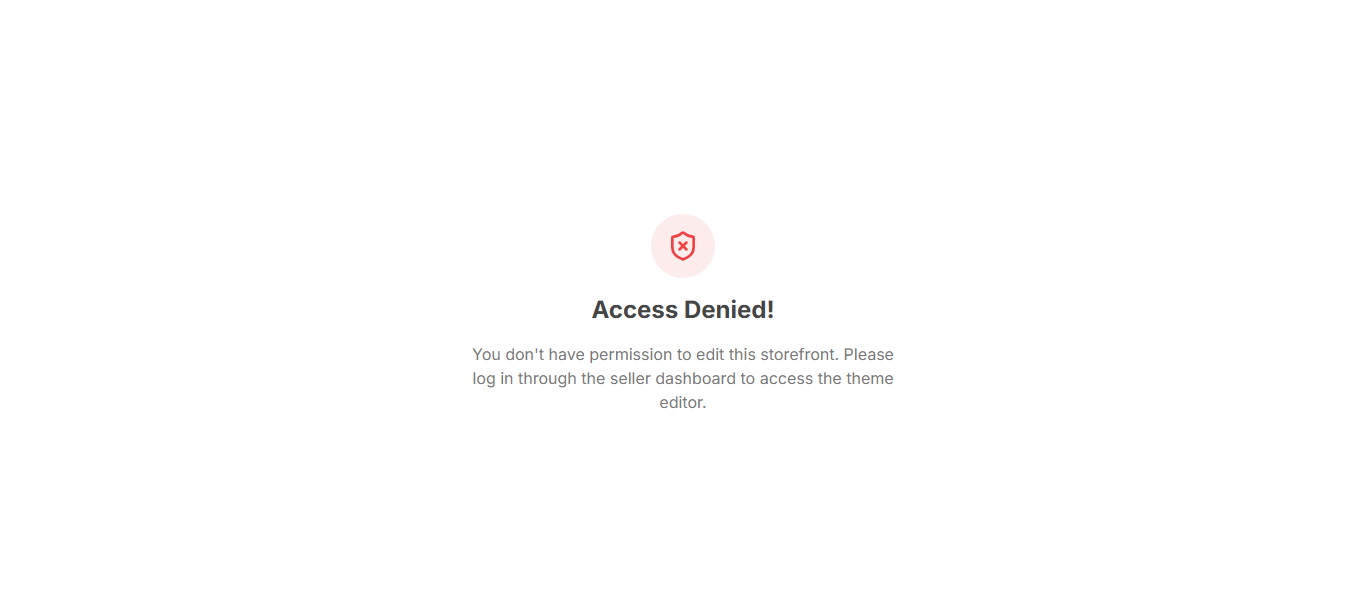
🔑 The Only Way Someone Can Edit Your Store
They must:- Log into your Seller Dashboard
- Have valid permissions
The only realistic way someone edits your store is if you share your password. Don’t.
🔒 Password Security (Hashing + Salt)
Shopi protects seller accounts using secure password storage:- Password hashing
- Salt encryption
- Session authentication tokens
- Secure access controls
Shopi Security Architecture
Learn how Shopi protects seller accounts, storefronts, and business data using secure infrastructure.
🤖 AI + SEO Friendly Storefront Architecture
Shopi themes follow a structured storefront architecture designed to improve:- Faster storefront loading
- Better search engine indexing
- Better AI understanding of your content
- Higher SEO ranking potential
✅ Best Practices for Store Customization
To improve conversions and performance:- Use consistent brand colors
- Upload high-quality images
- Keep the homepage simple and focused
- Highlight best-selling products/services
- Avoid adding too many sections (clutter reduces sales)
❓ Troubleshooting
If you cannot edit your storefront:- Confirm you are logged into the Seller Dashboard
- Refresh and try again
- Check whether your session expired
- Confirm you are editing the correct store